Create a configured room
-
In the Chat Rooms main menu, choose
Create Room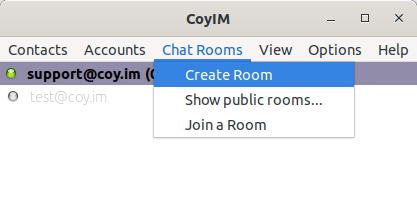
-
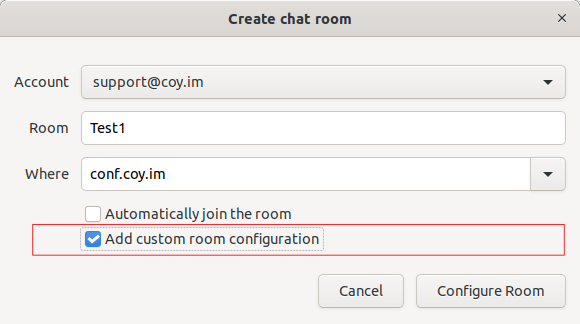
In the window Create chat room:
- Select the Account you want to connect with to the chat room.
- Enter the Room Name (You should only use alphanumeric characters. Spaces are not allowed).
- In the Where section choose the server where the chat room should be hosted.
-
Enable the option: Add custom room configuration
-
Click on
Configure Room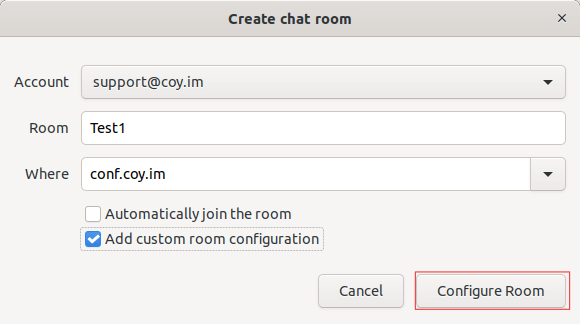
-
In the window Configure room , you can modify the parameters related to: Basic Information, Access, Permissions, Positions and Other Settings.
5.1 Sections of the Room configuration window
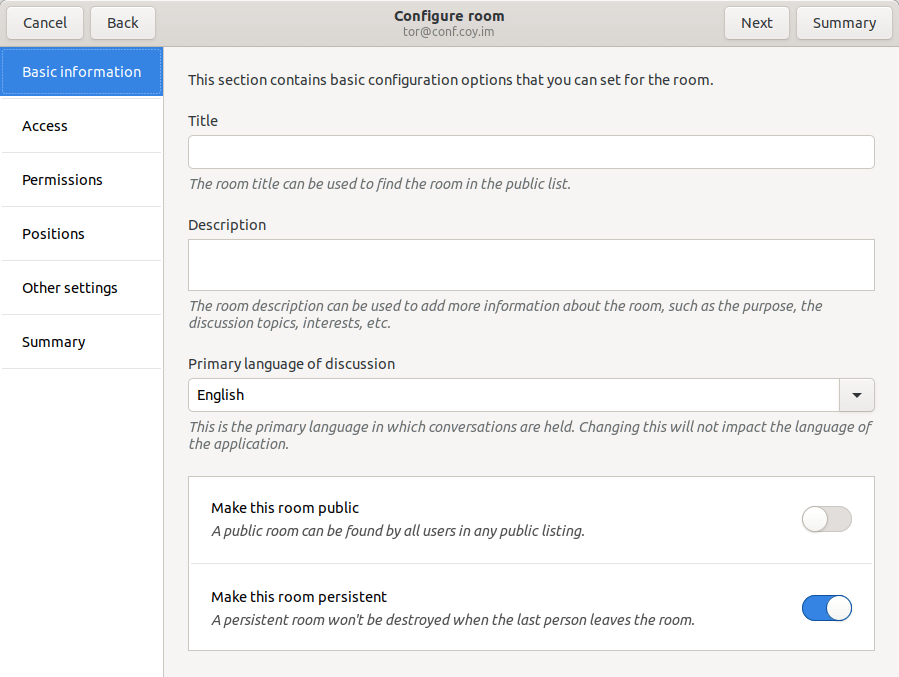
Basic information
In this section you can configure these fields:
- Room title.- This information can only be seen for public rooms.
- Description.- This information can only be seen for public rooms.
- Language
- Make the room public.
-
Make the room persistent.- If you enable this option, the room will not be destroyed after the conversation is over.
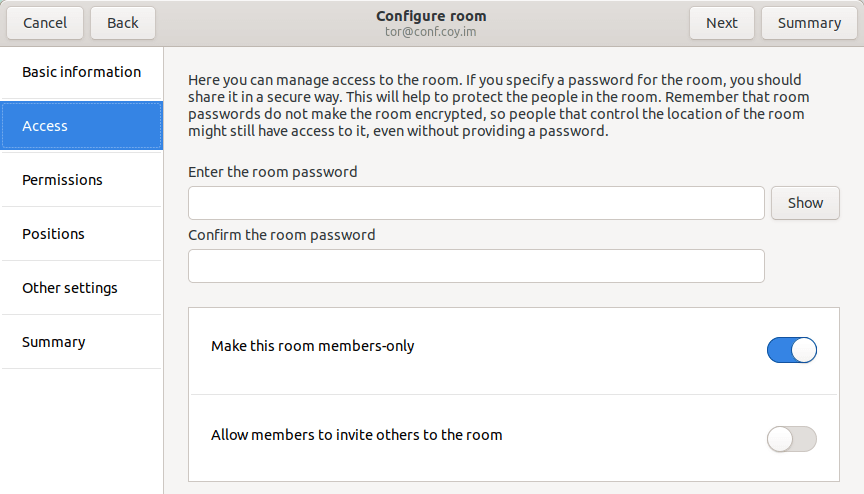
Access
In this section you can:
- Configure a password for the chat room.
- Make the room exclusively for members
-
Allow members to invite others to the room.
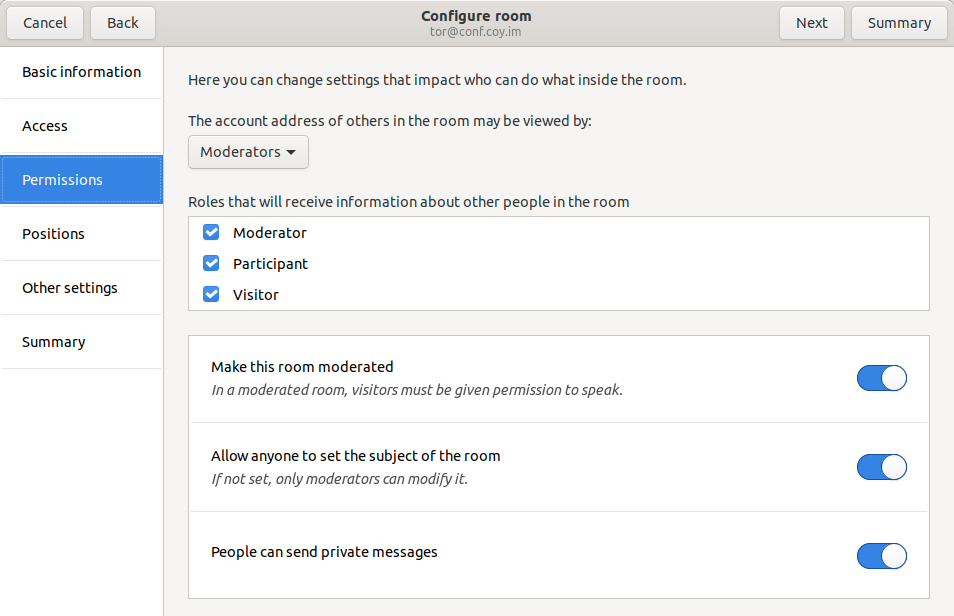
Permissions
In this section you can change the settings regarding who can do what in the room.
You have the following fields:
- You can select who (moderators or all) can view the account address of the people in the room.
- An option to make this room moderated.- the moderator is the one who gives the permission to speak inside the room.
-
Allow anyone to set the room subject.- If this option is not enabled, only the moderators can modify the subject.
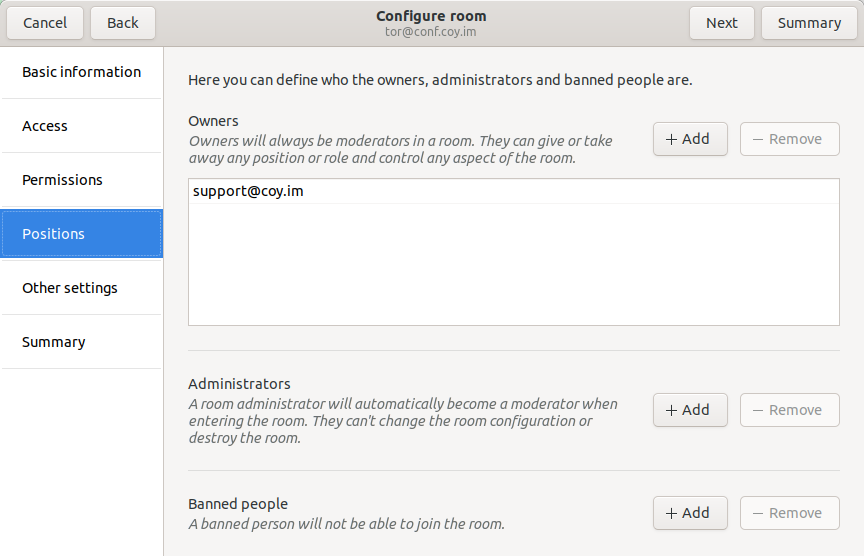
Positions
In this section you can add or remove people as Owners and Administrators. You can also ban or unban people.
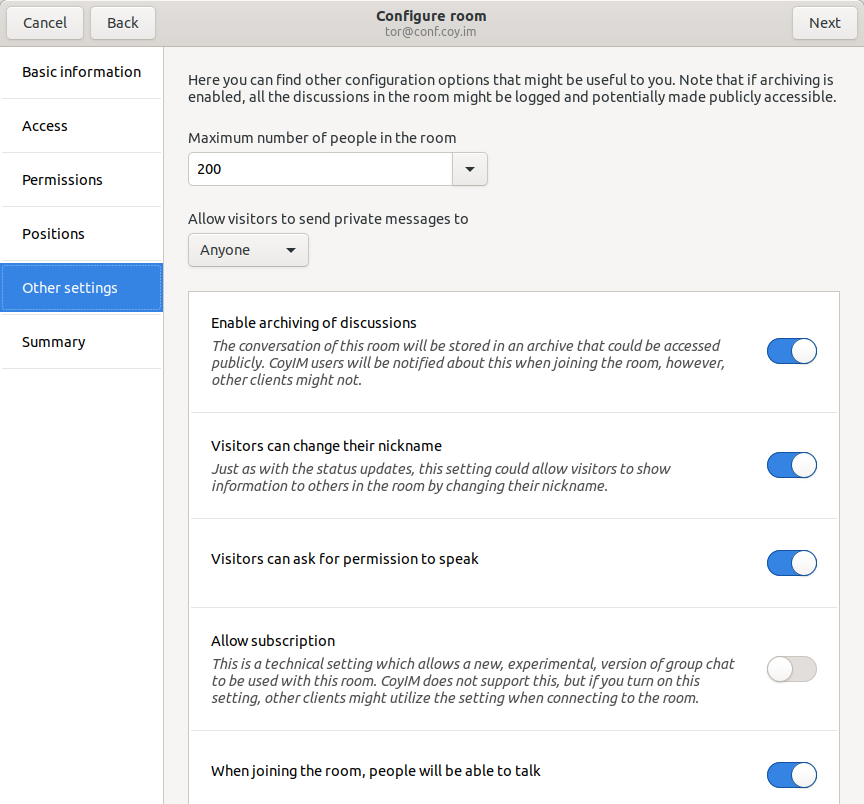
Other settings
Here you can find other configuration options that may be useful to you.
- Keep in mind that if the function Archiving is shown and enabled, all conversations in the room could be accessed and potentially made accessible to the public.
- You can select the maximum number of previous messages sent to people when joining the room.
- Define the maximum number of previous messages sent when a person returns to the room.
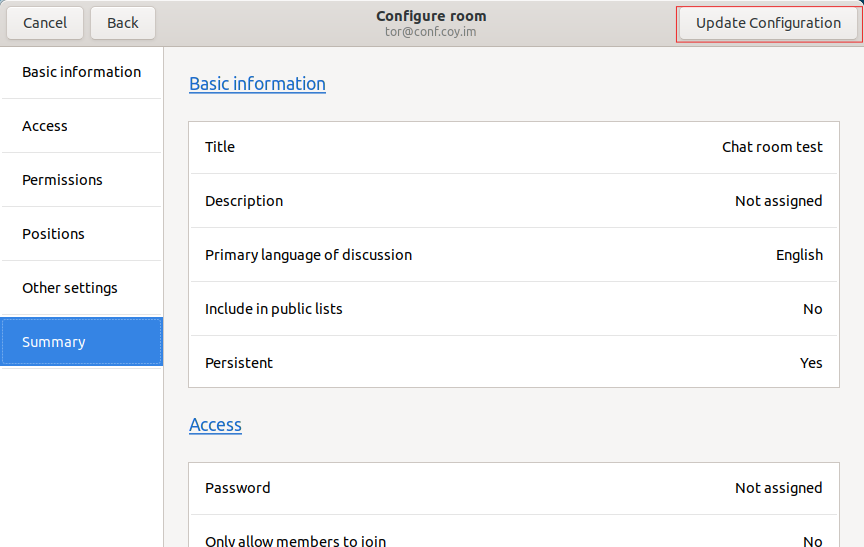
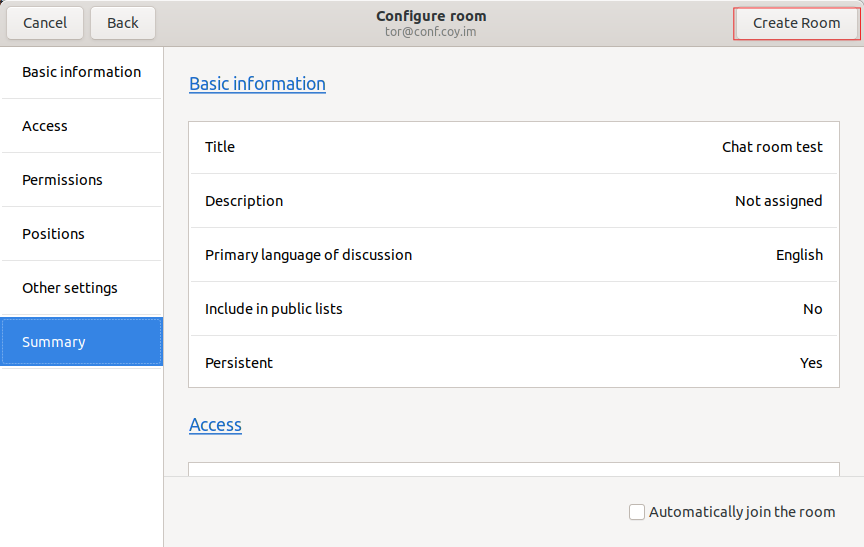
Summary
The Summary section shows all the settings established in the previous sections.
Click on Create Room to apply all changes and create the new room.
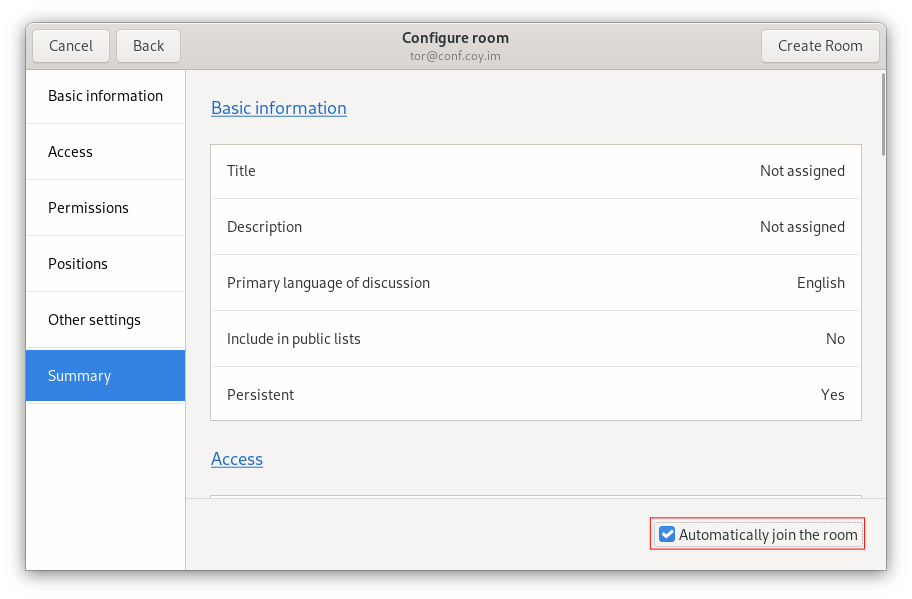
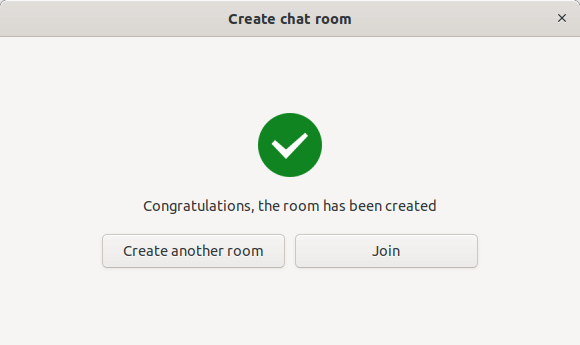
In the window Create chat room, select the option: Join , to be part of the conversation in the chat room or Create another room
How to configure a chat room?
Keep in mind that to configure a room you need to have the position of Owner.
- If you are the one who created the room, by default you have the position of Owner.
- Another Owner can make you an Owner.
-
In the conversation window of the chat room, click the
menu
-
Select
Configure room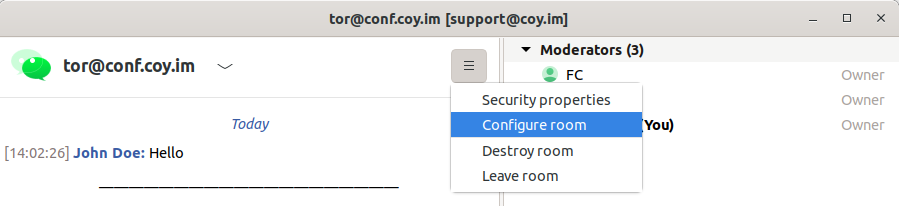
- Go to Create a configured room, section 5 and make any configuration changes you want.
-
In the Summary section, click on
Update Configurationto apply the changes you made in the Room configuration window.